soilkind repair service
You can send your defective soilkind directly from home to our repair center for repair. Please use our contact form on this page.

Report your repair
Use our contact form to inform us about your repair and describe any damage. Please provide the following information so we can process your repair promptly: your first and last name, address, telephone number, email address, as well as your order number, your device's serial number, and your desired pickup date. Once we have received all the information, we will review your repair request and you will receive a pickup confirmation via email. Please note: It is absolutely necessary that you are at home on the agreed-upon appointment.
Get soilkind ready for the journey
To ensure your soilkind travels safely, it's important that it's free of organic waste and/or compost. Before packing your soilkind, please run the throw-out process twice. This ensures that no biomass remains in the device. Detailed instructions can be found further down on this page.
Pack your soilkind
How do I pack my soilkind?
Pack the item so that it cannot be damaged during transport.
This also means that your device's transport lock must be activated. Activate the transport lock by turning the lever clockwise to a horizontal position. Please include a copy of your invoice and the repair slip with barcode in the package – this will help us best identify your soilkind. We will send you the repair slip in advance via email. Please note any transport instructions in the soilkind user manual .
Collecting your package
Once you have securely packed your soilkind and notified us that it is ready for pickup, we will confirm your pickup date via email. On the day of pickup, the GLS courier will bring a shipping label, pre-paid your package, and prepare your soilkind for its journey. Please ensure that your soilkind composter is properly and securely packaged. Important: It is absolutely necessary that you be home on the agreed date. Unfortunately, it is not possible to specify a time frame.
Receipt of the package at soilkind
Your package arrives at our repair center and is checked by us.
soilkind takes care of the repair
We will repair your device and send it back to you as quickly as possible. The repair time may vary depending on how many devices are currently being serviced. However, we will definitely keep you updated.
Get soilkind ready for the journey
In the following section, you'll find detailed step-by-step instructions on how to prepare your Soilkind for shipping. Alternatively, you can download this PDF .
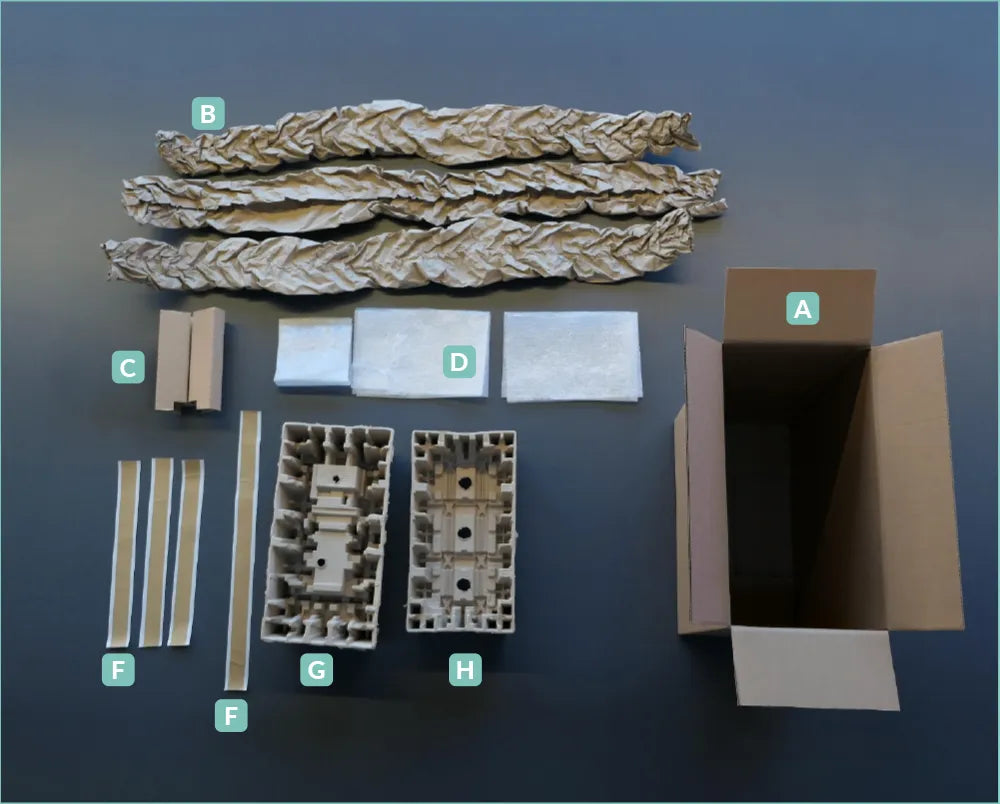
Overview of return packaging
A Return packaging
B Paper wrap
C Cardboard protection water tank
D Film protection cuts
E Short adhesive strips
F Long adhesive strip
G Upper pulp insert
H Lower pulp insert
B Paper wrap
C Cardboard protection water tank
D Film protection cuts
E Short adhesive strips
F Long adhesive strip
G Upper pulp insert
H Lower pulp insert
How do I prepare soilkind for shipping?
When you receive your return packaging, please ensure that it is undamaged and has not been damaged by moisture to ensure a smooth return process.
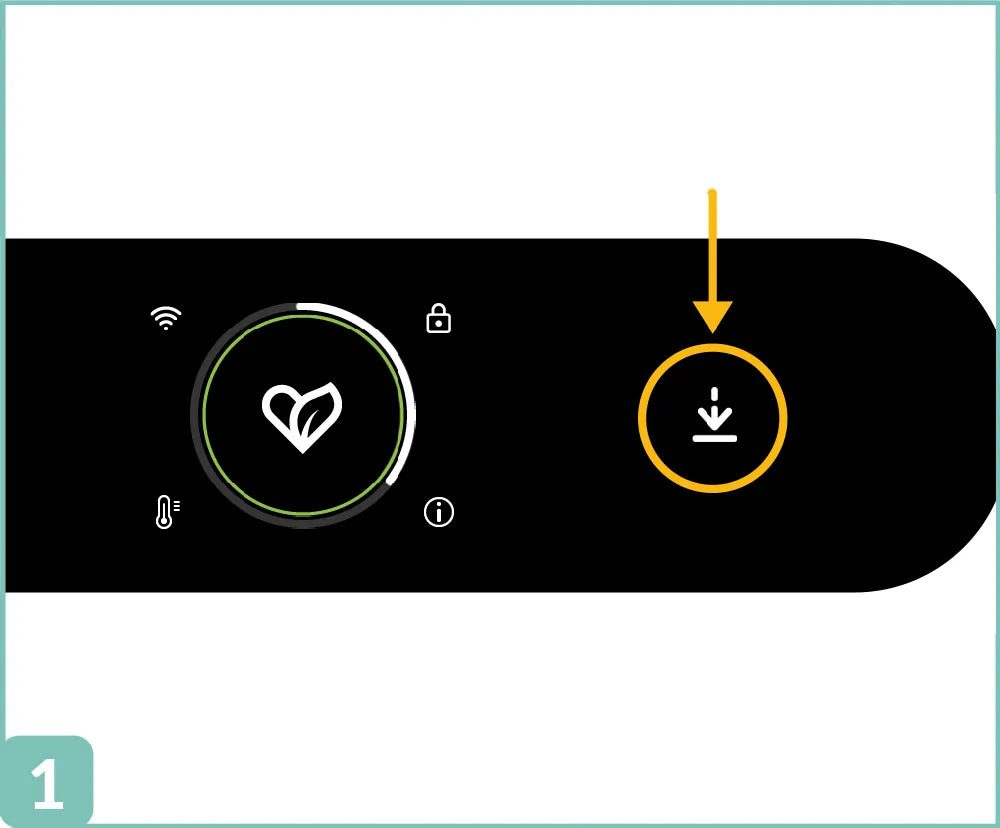
01
Before you take soilkind on your journey, please ensure you have performed the ejection process twice to empty all chambers. If you can no longer activate the ejection process, remove any remaining organic waste from the upper chamber and clean the removable parts (lid, funnel, lint filter) under running water.
02
Remove the water tank, empty it and activate the transport lock by pushing the transport lock lever counterclockwise down into a vertical position.
03
To keep the transport lock in this vertical position, slide the cardboard protection (C) into the position of the water tank.
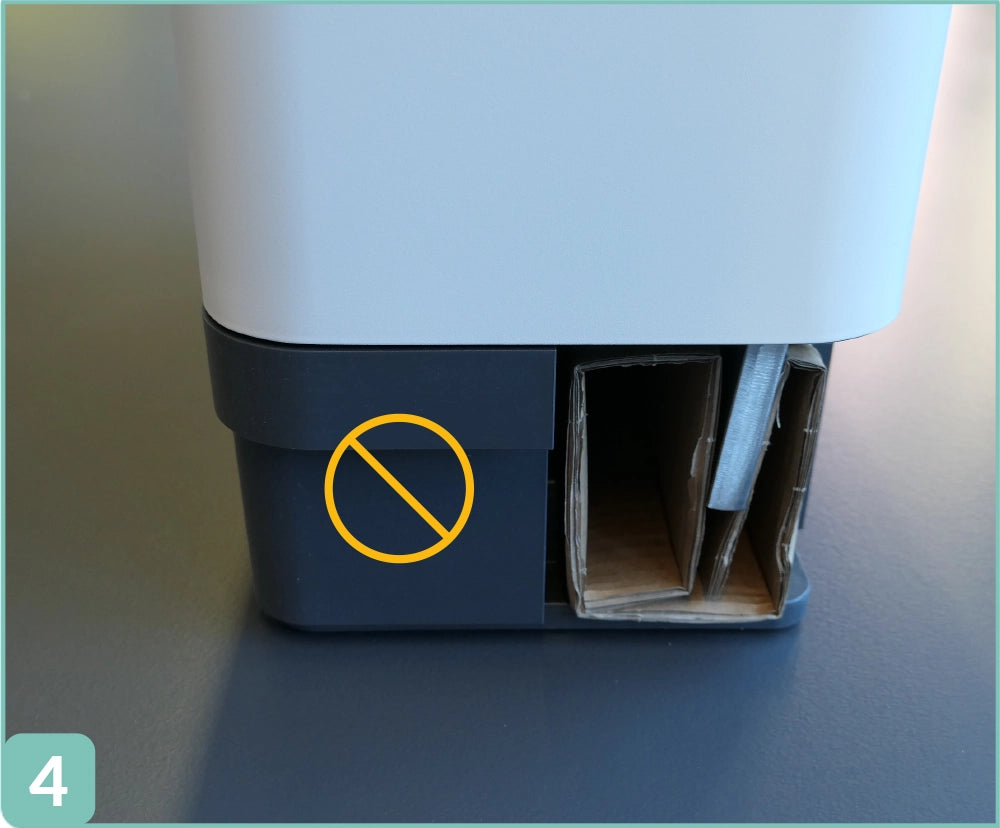
04
Unplug the power cord to turn off soilkind and make sure the compost bin has been emptied.
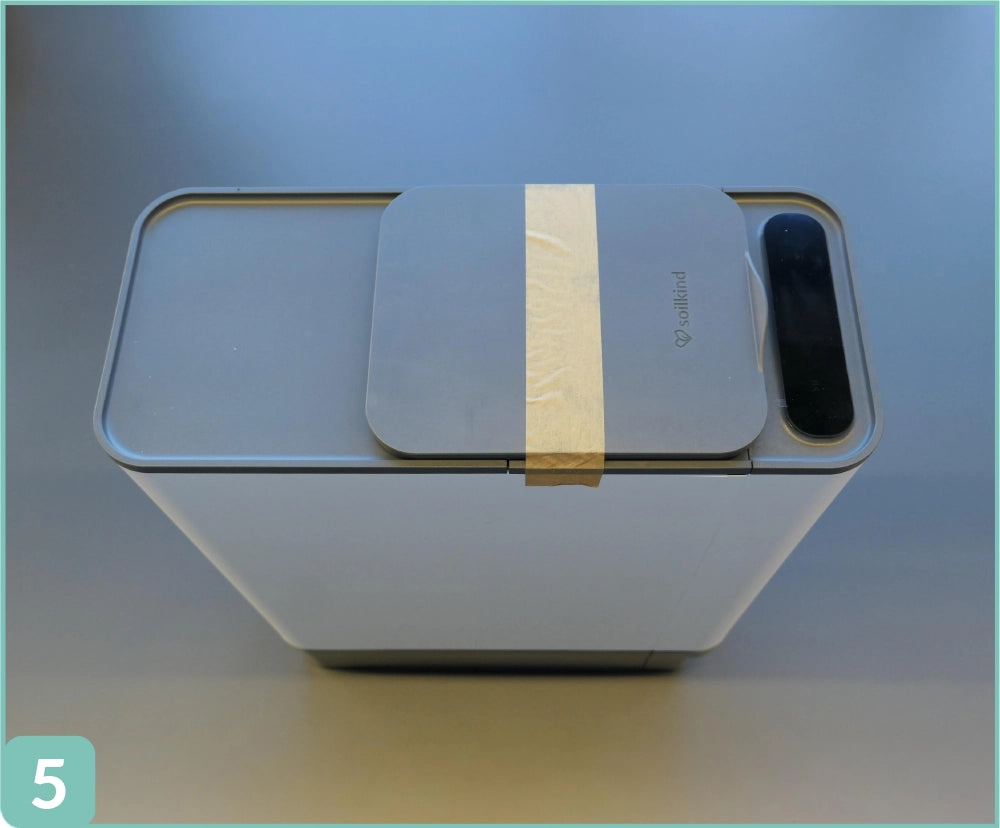
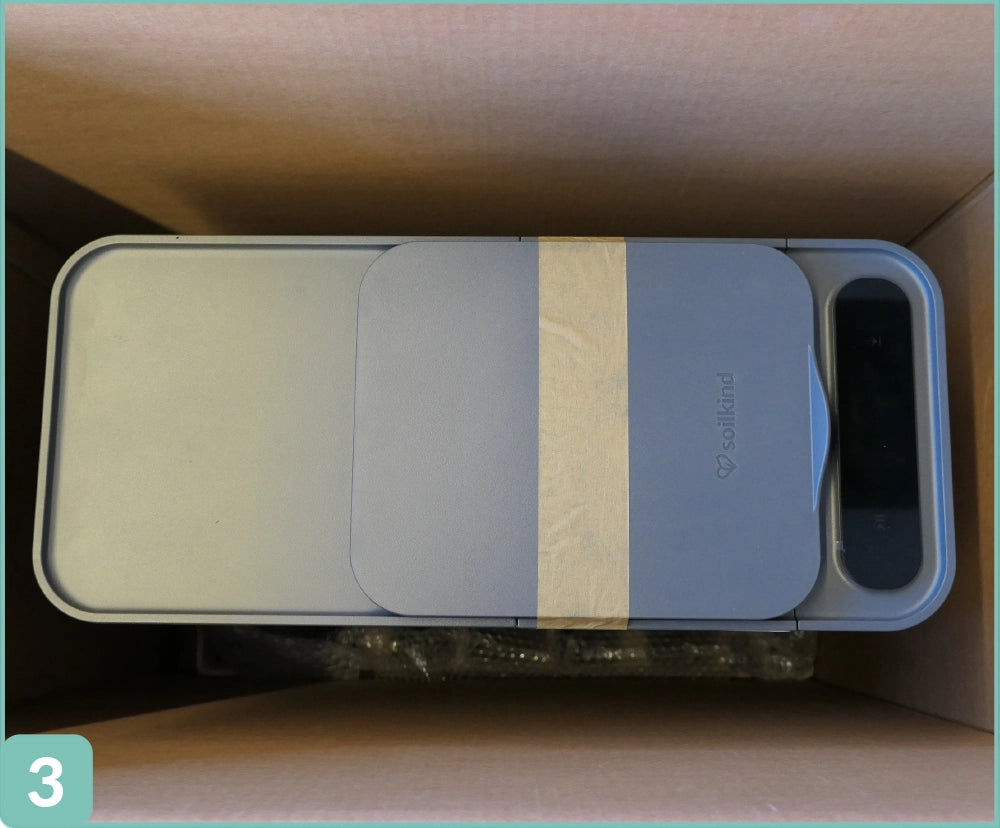
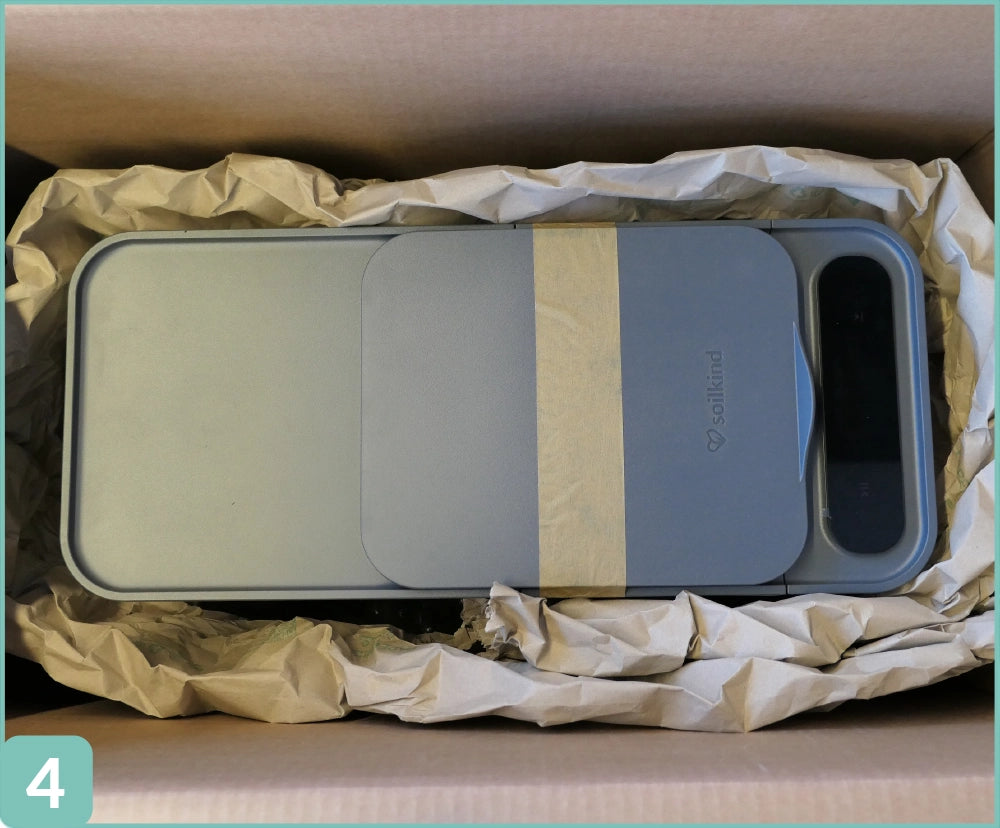
05
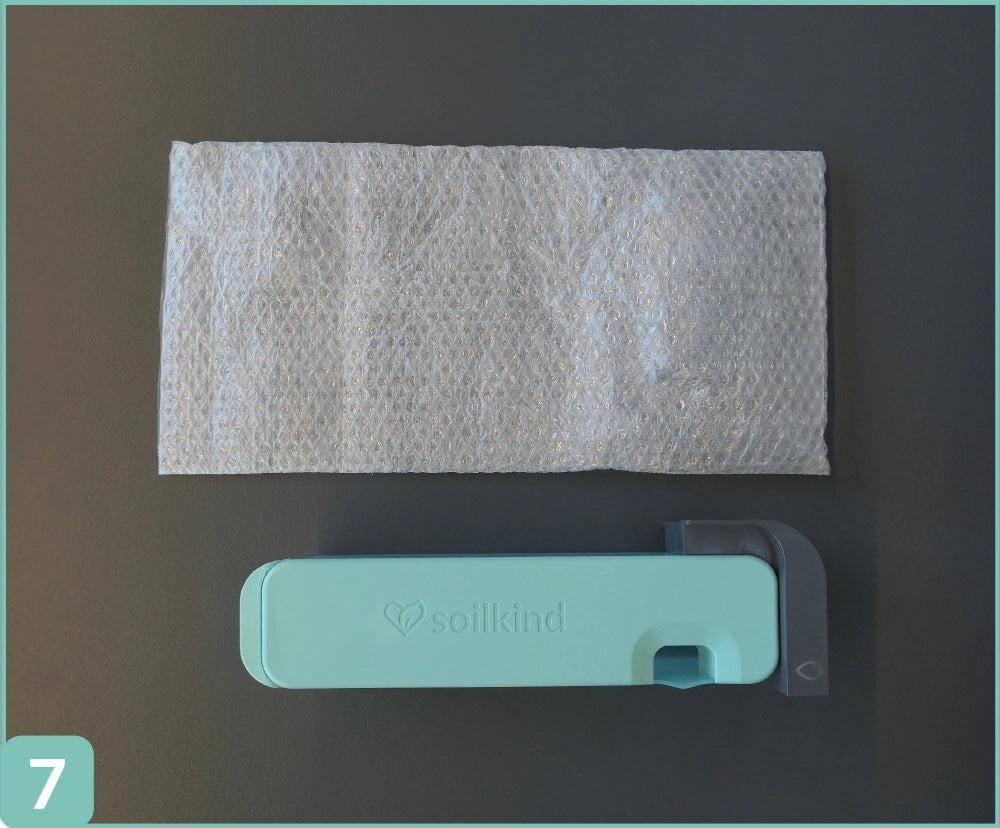
Apply the enclosed adhesive strip (E) to the lid and side panels.
How do I pack soilkind for shipping?
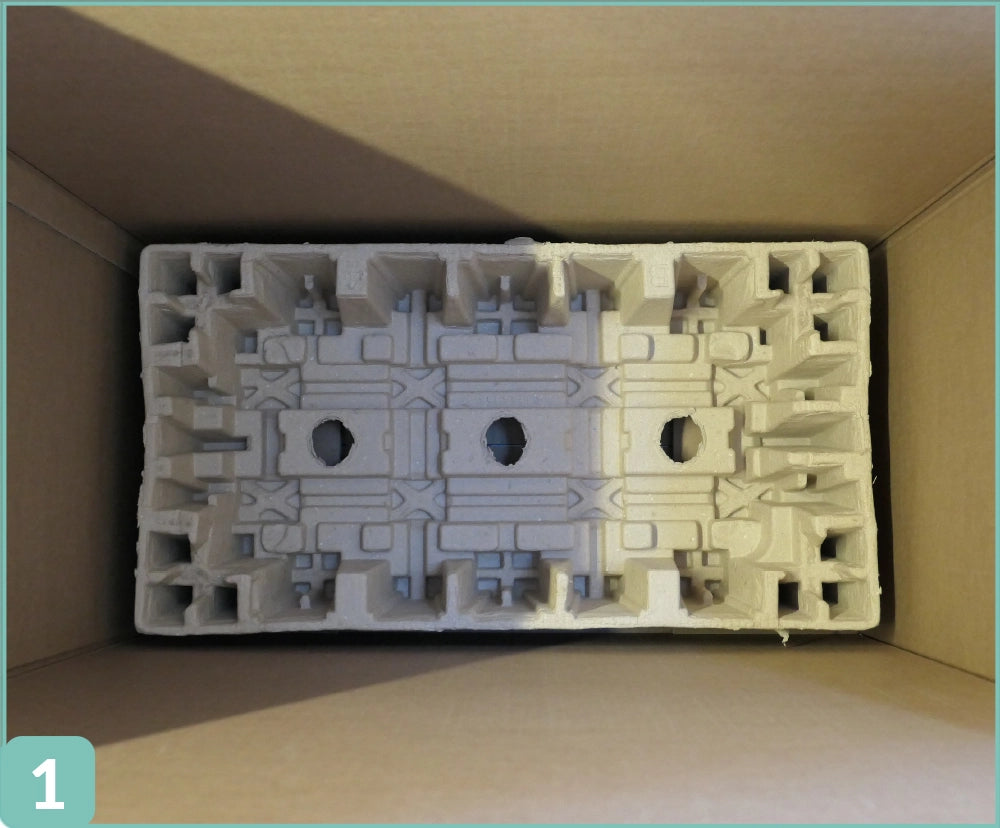
01
Place the return carton (A) upright and insert the lower pulp insert (H) with the recess facing upwards and the number 6.571-071.0 into the carton.

02
Place the film protector (D) over the pulp insert. Use one of the large film protector cutouts here.
03
Insert the soilkind into the pulp tray. Due to its weight and size, we recommend using two people to insert the soilkind. You can grasp the soilkind by the tank opening and the power plug recess.
04
Place the paper wraps around soilkind one after the other.
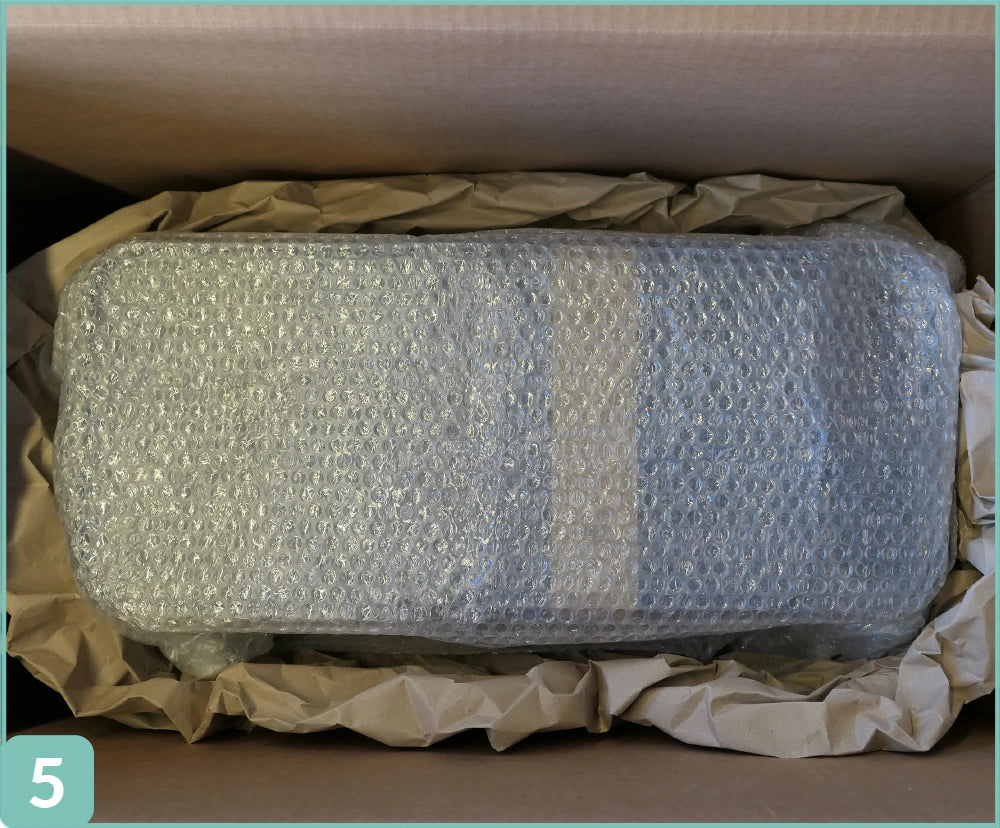
05
Place the film protector (D) over Soilkind. Use one of the large film protector cutouts here.
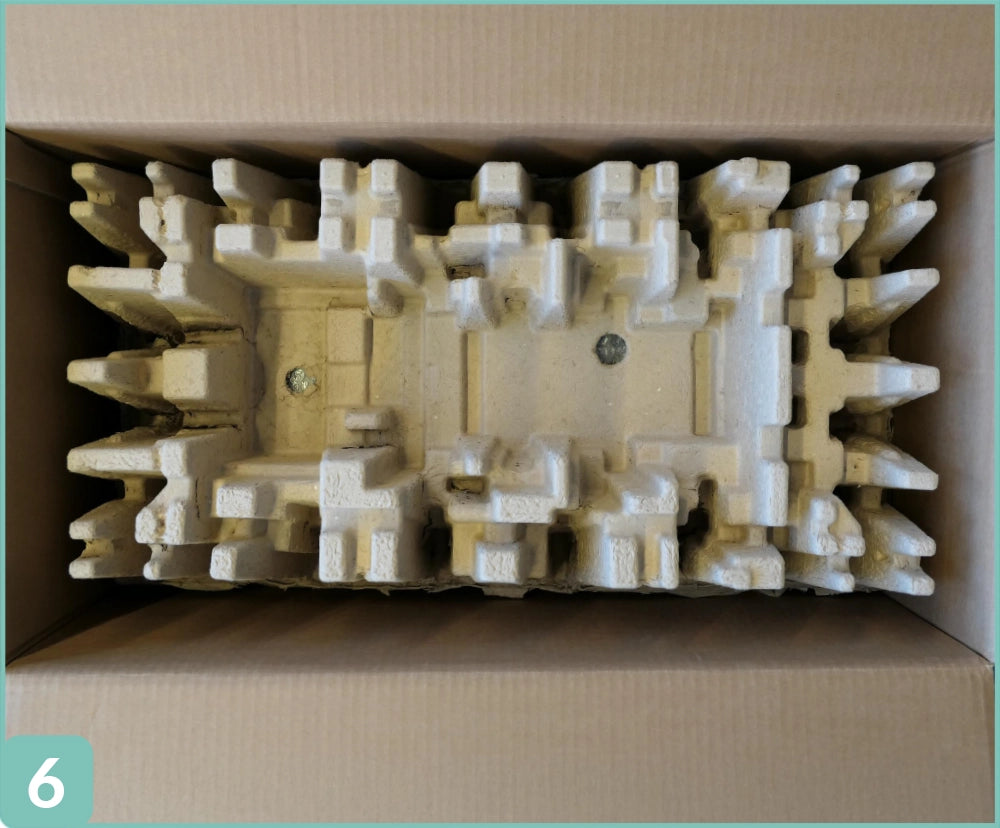
06
Place the upper pulp insert (G) with the number 6.571-072.0 on your soilkind.
07
Place the water tank into the protective cushioning film (D).
08
Place the water tank upside down into the recess in the middle of the upper pulp tray.
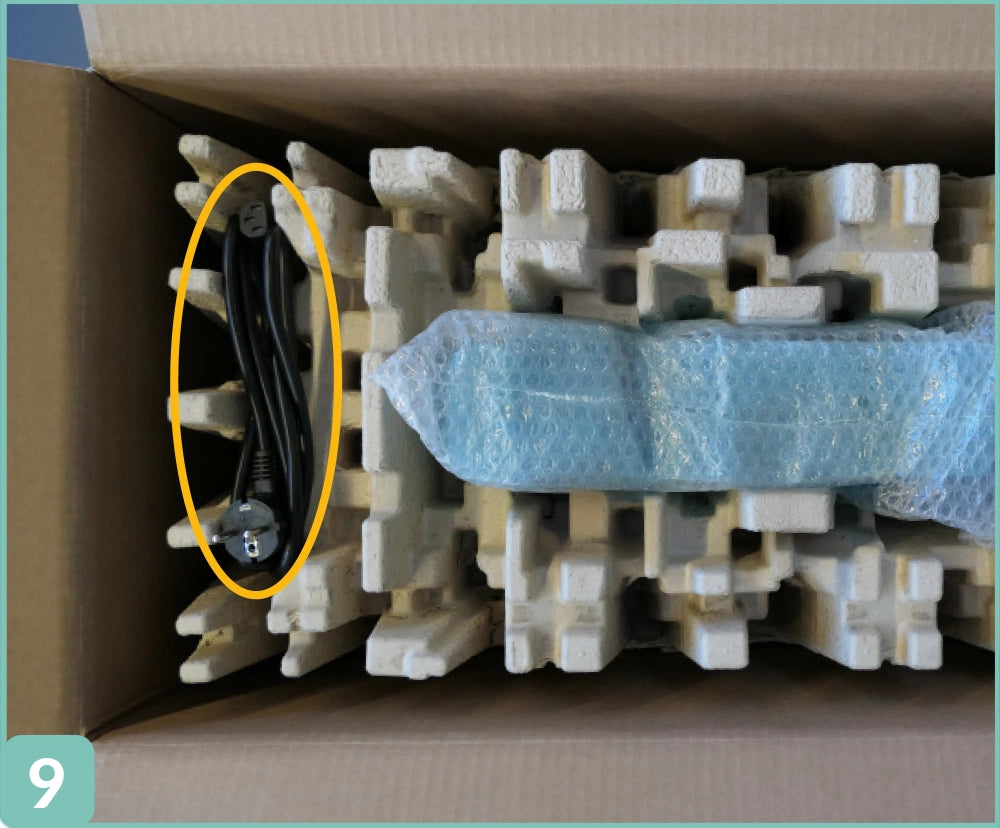
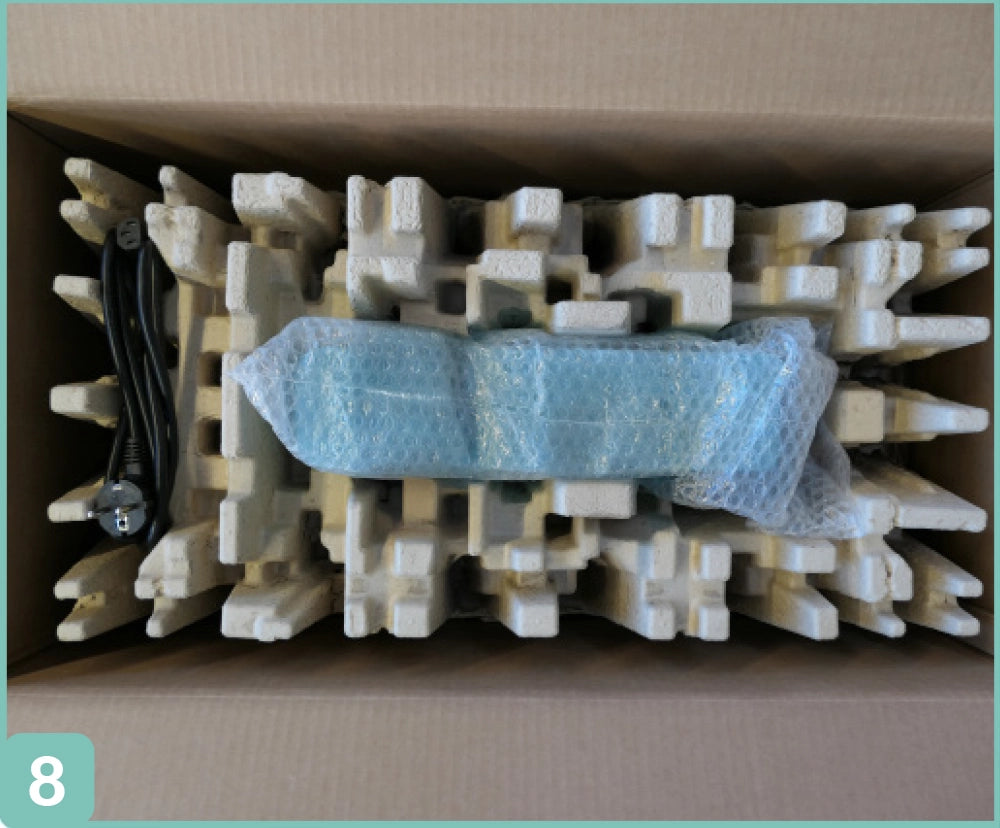
09
Insert the power cable into the designated recess.
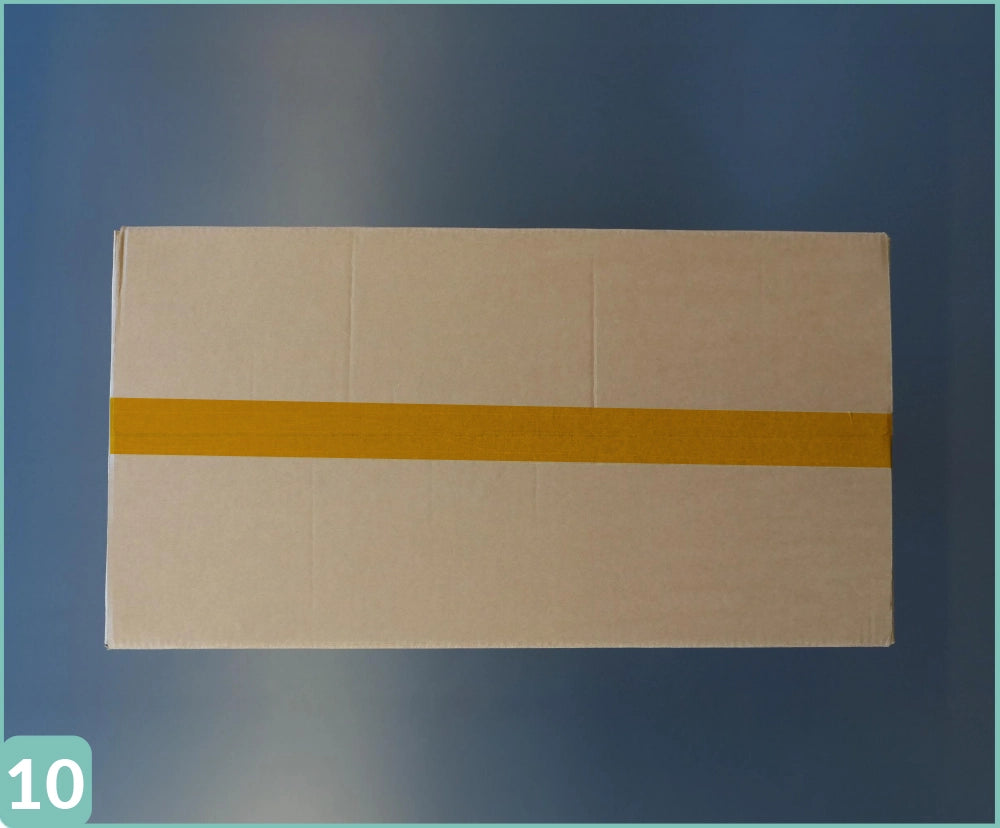
10
Close the top of the box by folding the short sides first, then the long sides. Then secure the top with the longest piece of tape (F).
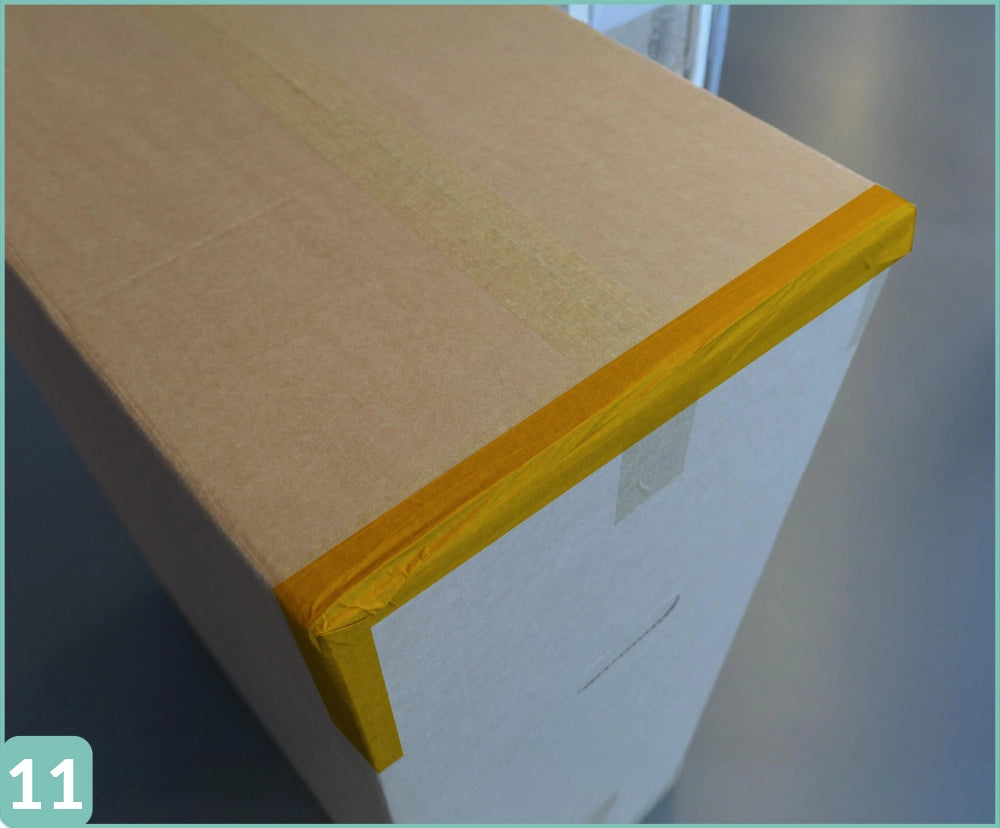
11
Seal the short sides of the box with the short adhesive tapes (E).
What soilkind stands for.
soilkind is making the world a better place from the ground up with compost.